Guaranteed safe
& secure checkout

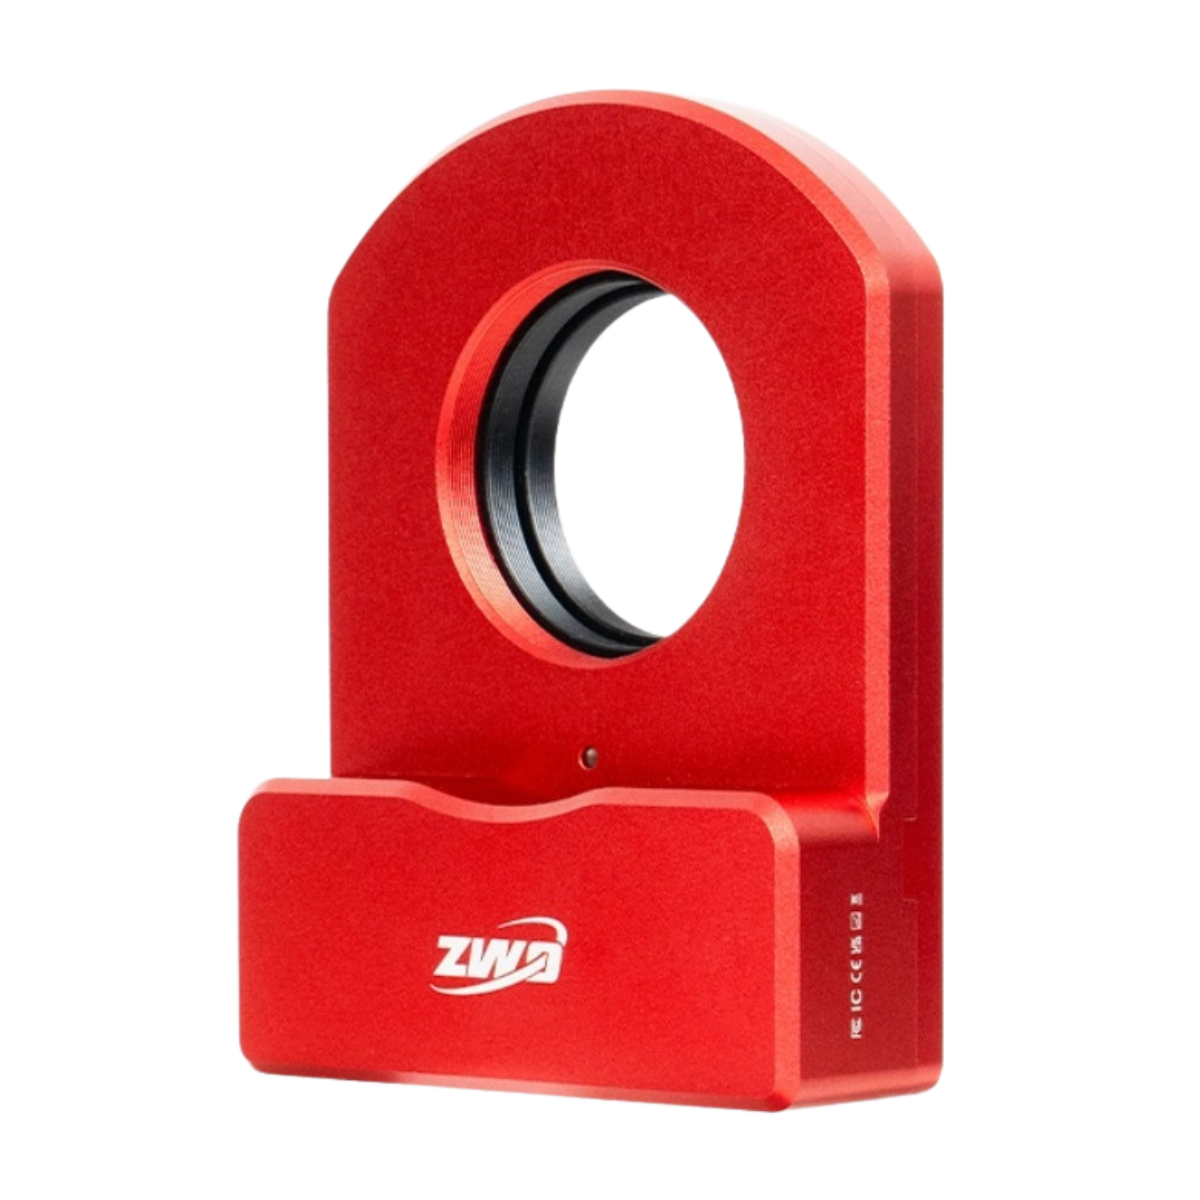
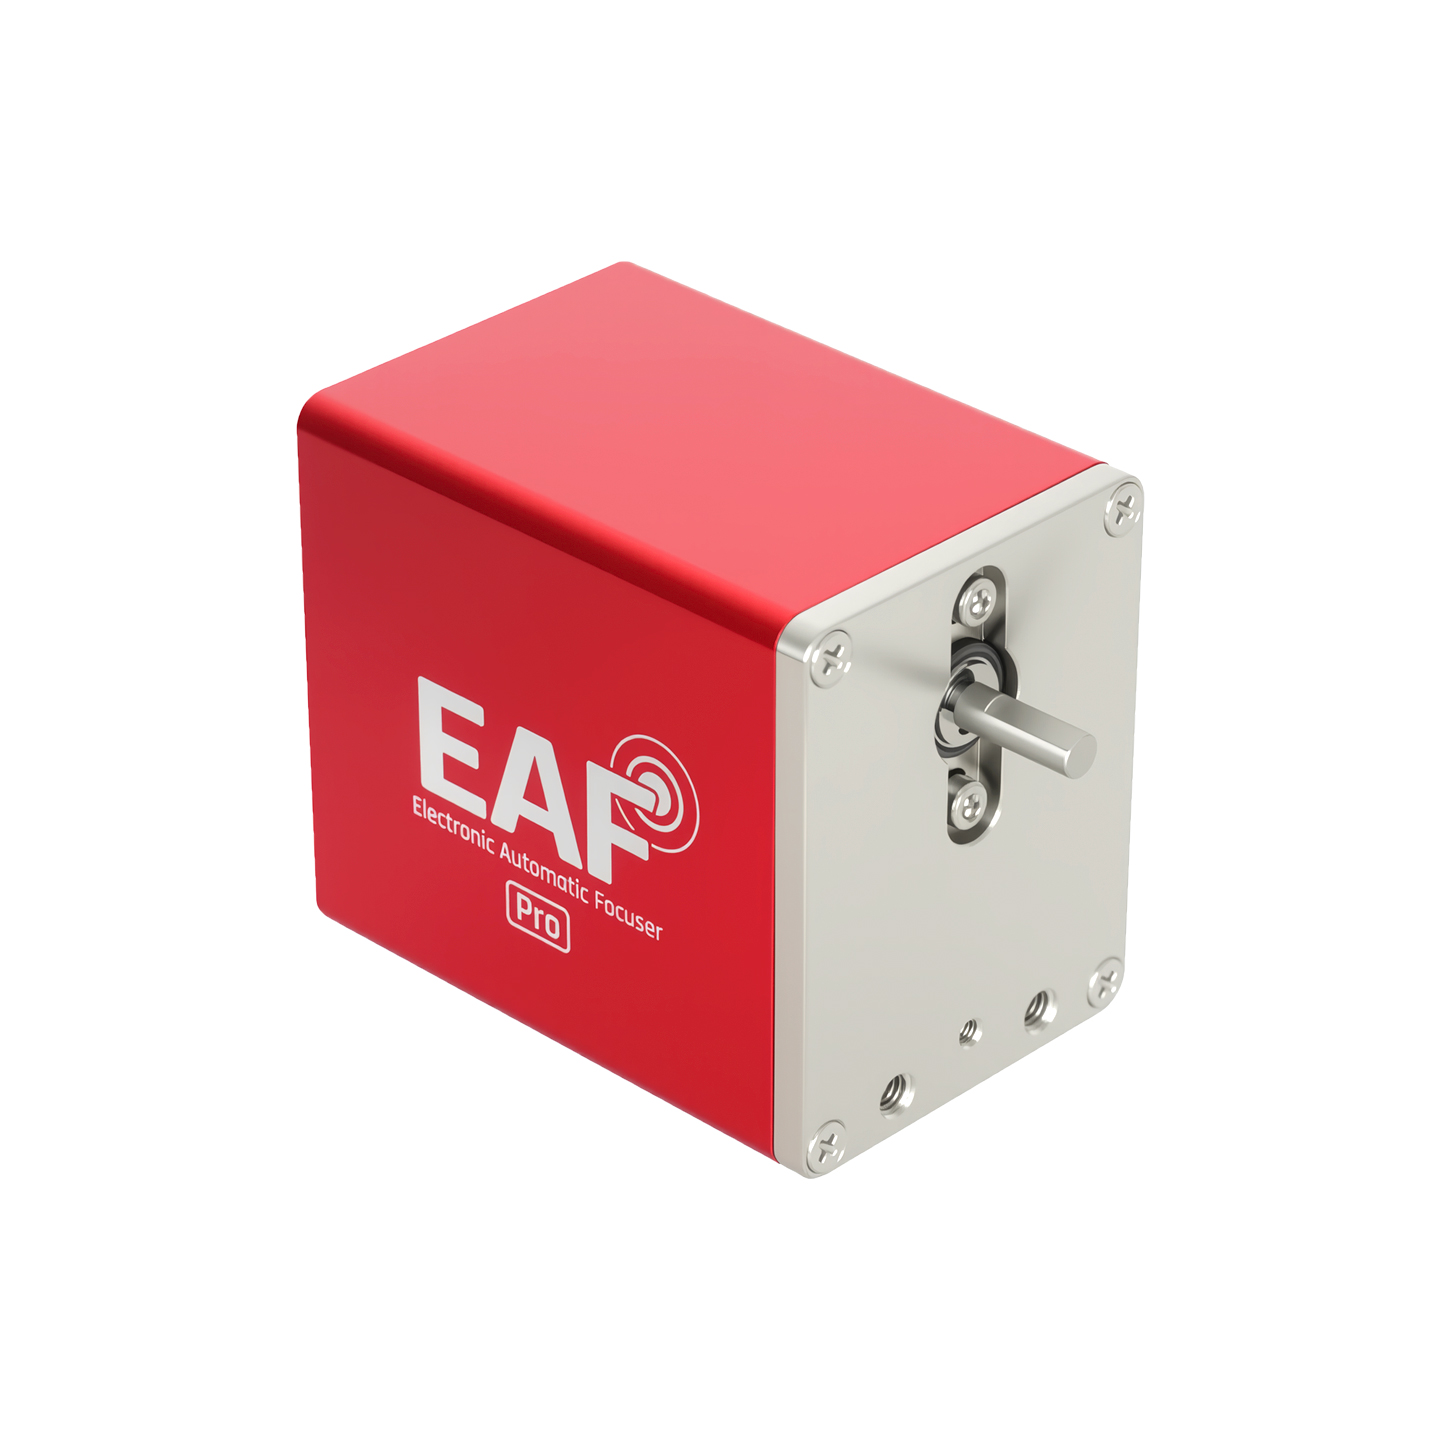
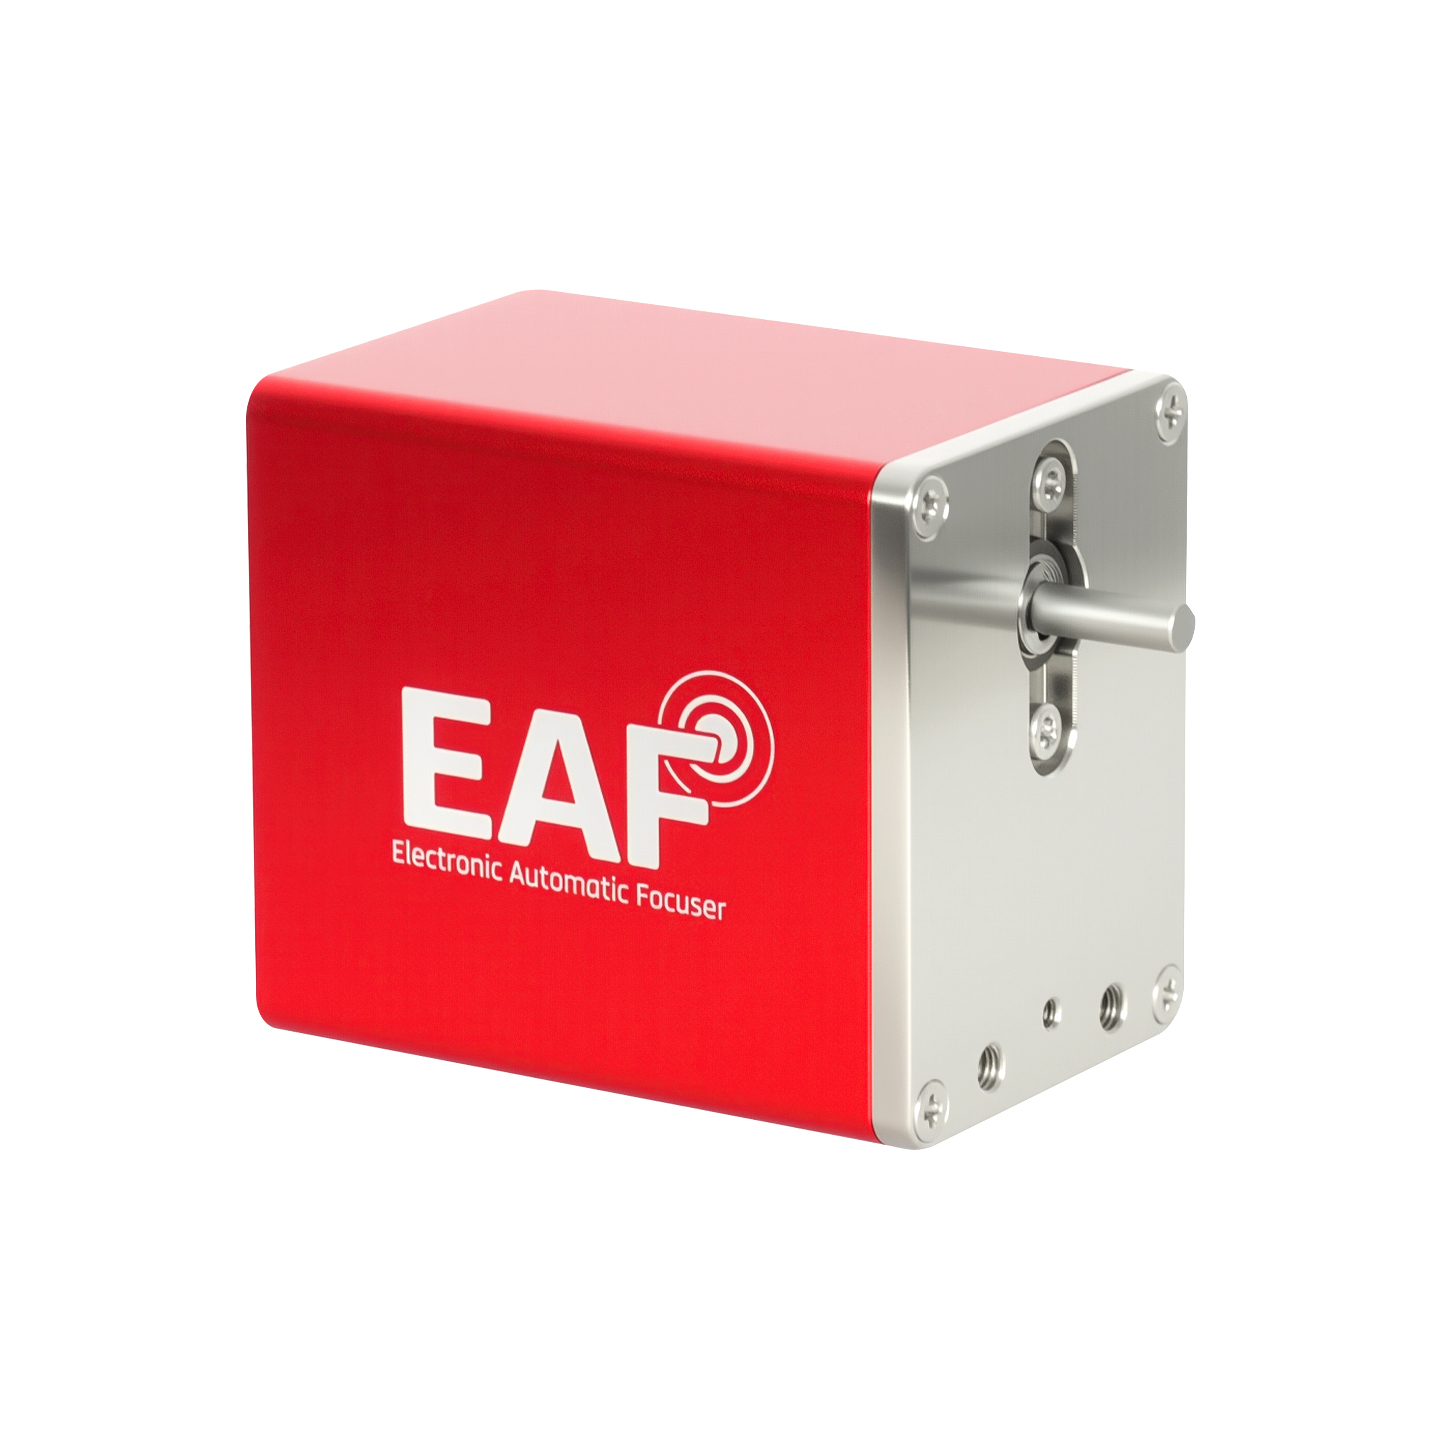
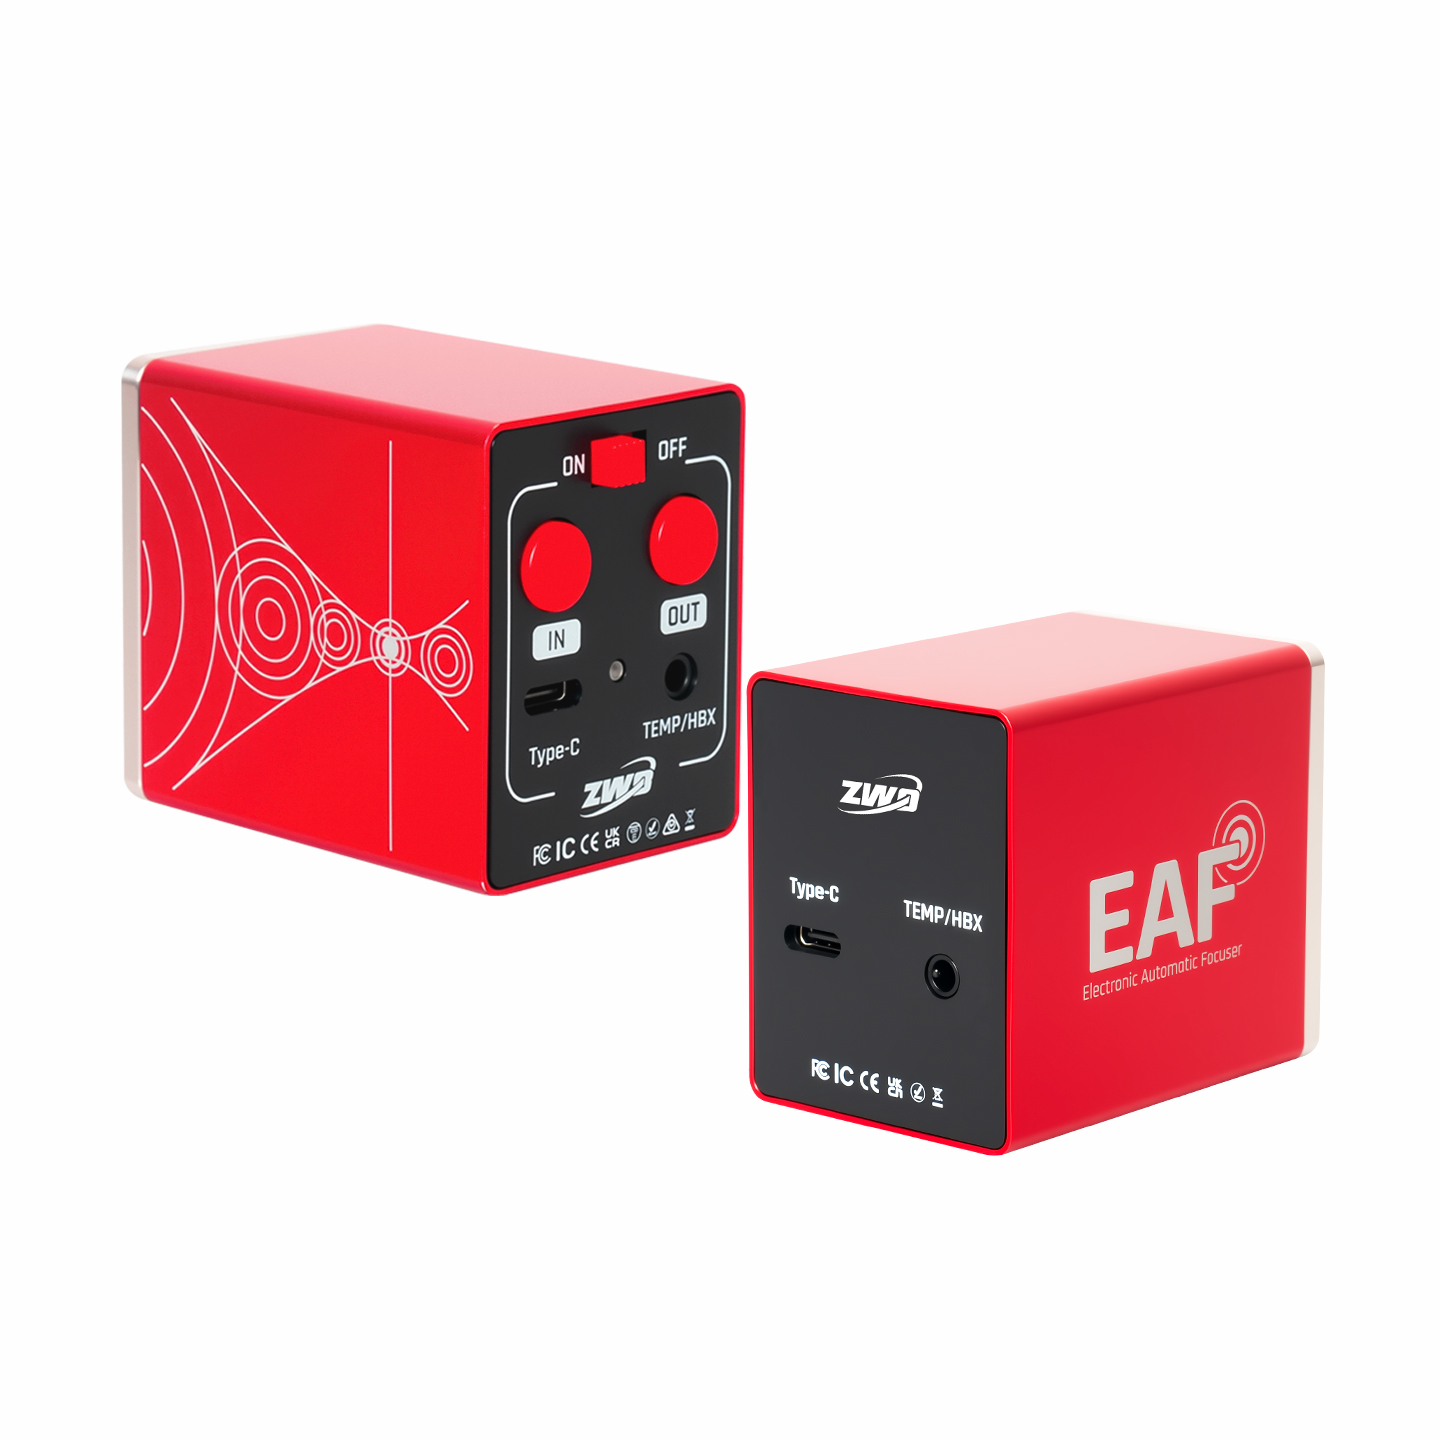
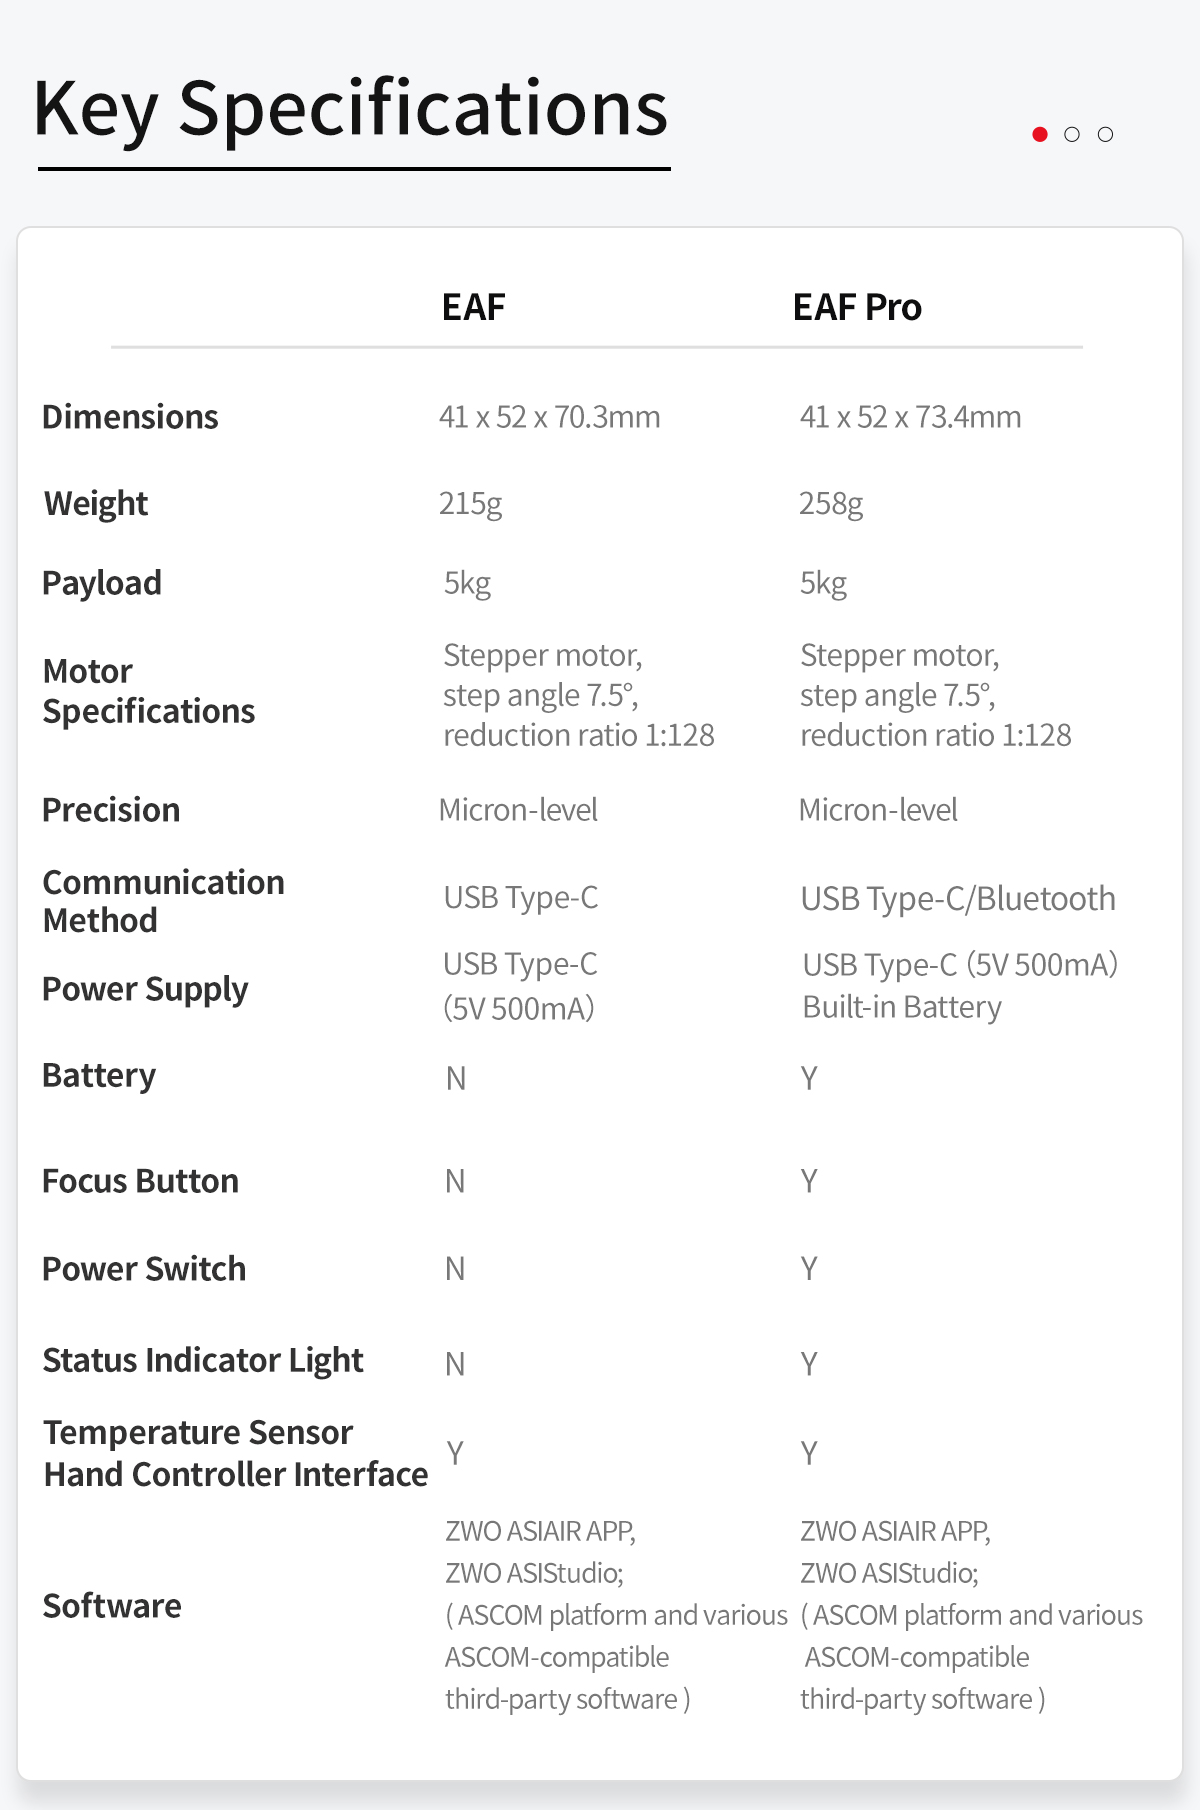
The new generation of ZWO EAF continues the brand’s signature minimalist design, featuring a robust metal housing and precise angular lines - a perfect fusion of form and function. Available in two versions: EAF and EAF Pro - to suit different user needs.

EAF features a more universal Type-C interface for broad compatibility and easy installation.
EAF Pro comes with a built-in battery and Bluetooth connectivity, reducing power supply constraints. It also includes manual focus buttons, allowing direct adjustment even after installation -offering maximum flexibility and convenience. Both models deliver a more user-friendly focusing experience, achieving pinpoint focusing accuracy for breathtaking cosmic imagery.


Micron-level Positioning Accuracy
The ZWO EAF integrates a high-precision custom stepper motor with compact yet powerful performance. Featuring a 1:128 reduction ratio, it provides the motor with strong torque and precise control capabilities, achieving micron-level positioning accuracy. Each rotation responds precisely to commands, ensuring accurate and reliable focusing.

5kg(11.02lbs) High Load Capacity
Astronomical observation equipment often requires the use of various heavy components. The ZWO EAF, despite its compact size, can support a high load capacity of up to 5kg (11.02lbs), as rigorously tested in ZWO Laboratory. Its powerful performance ensures stable operation of a wide range of equipment, meeting diverse observation needs.

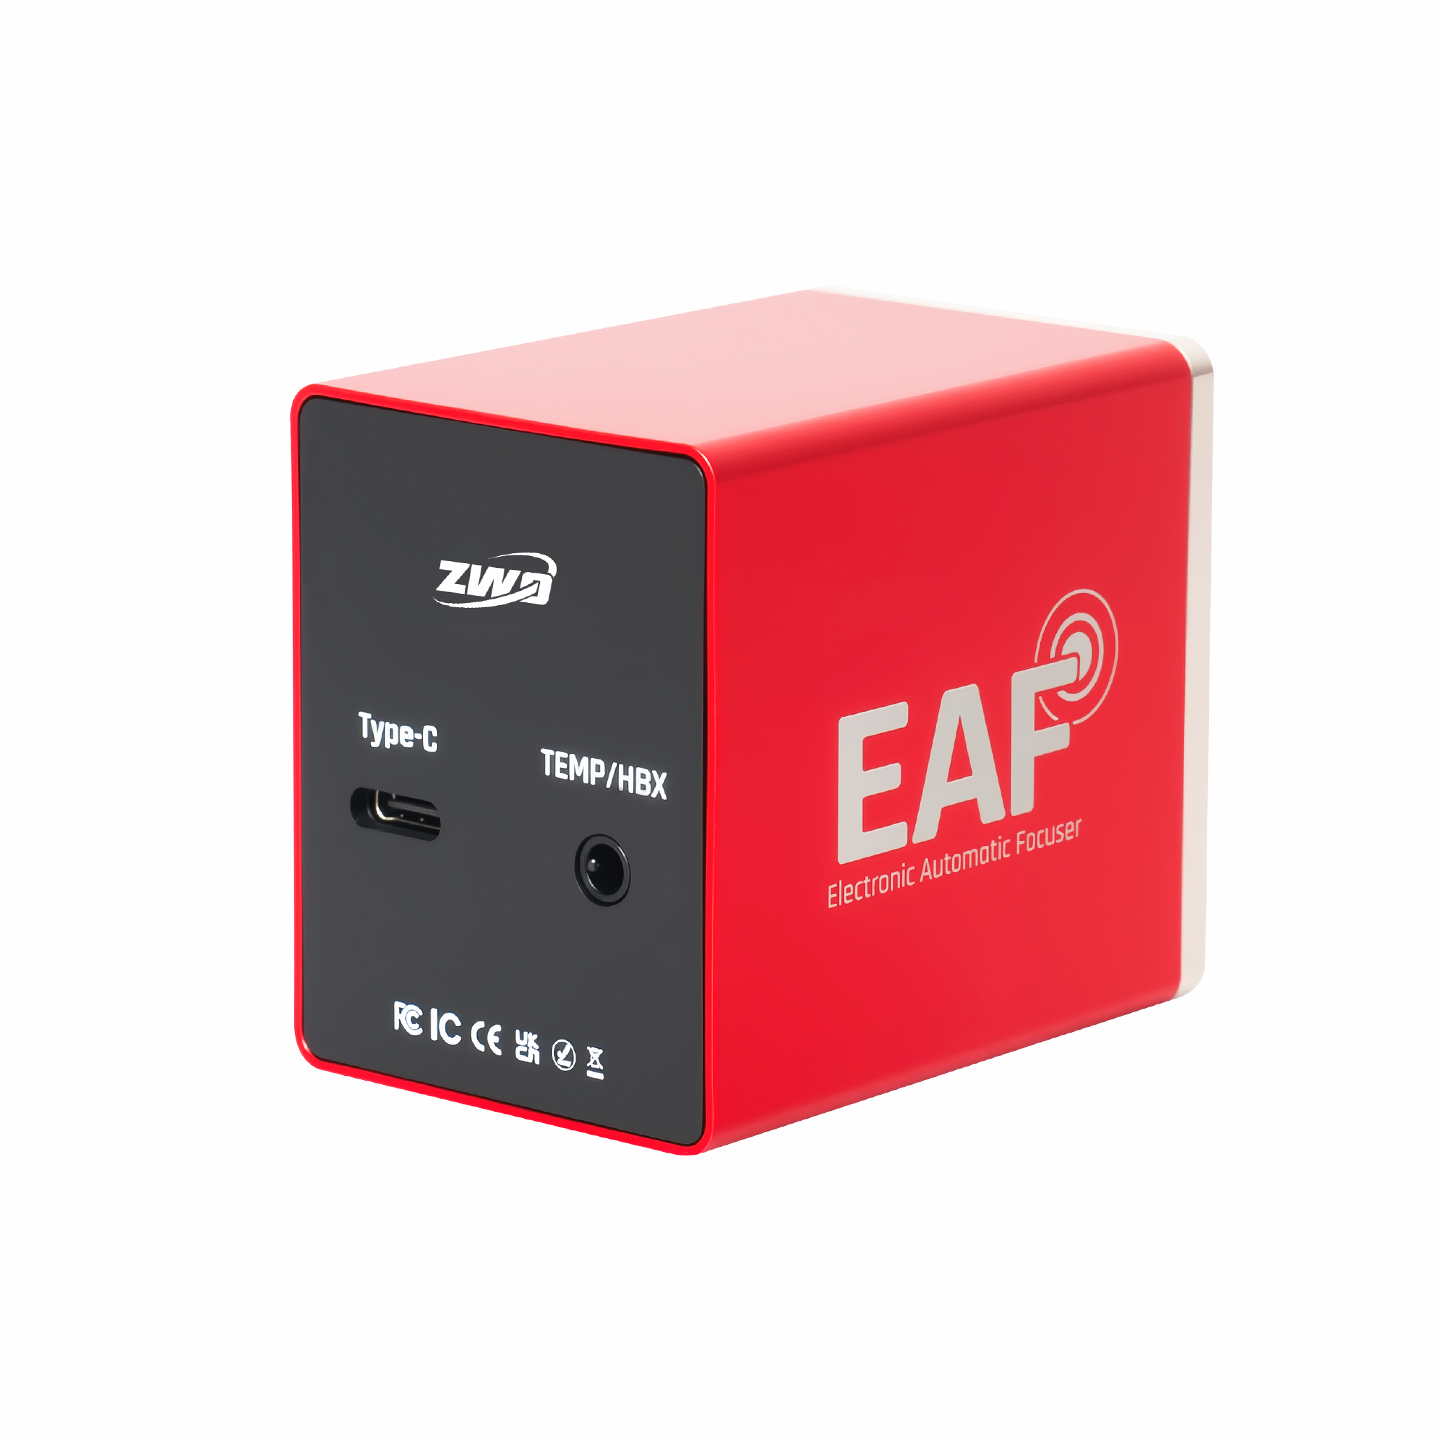
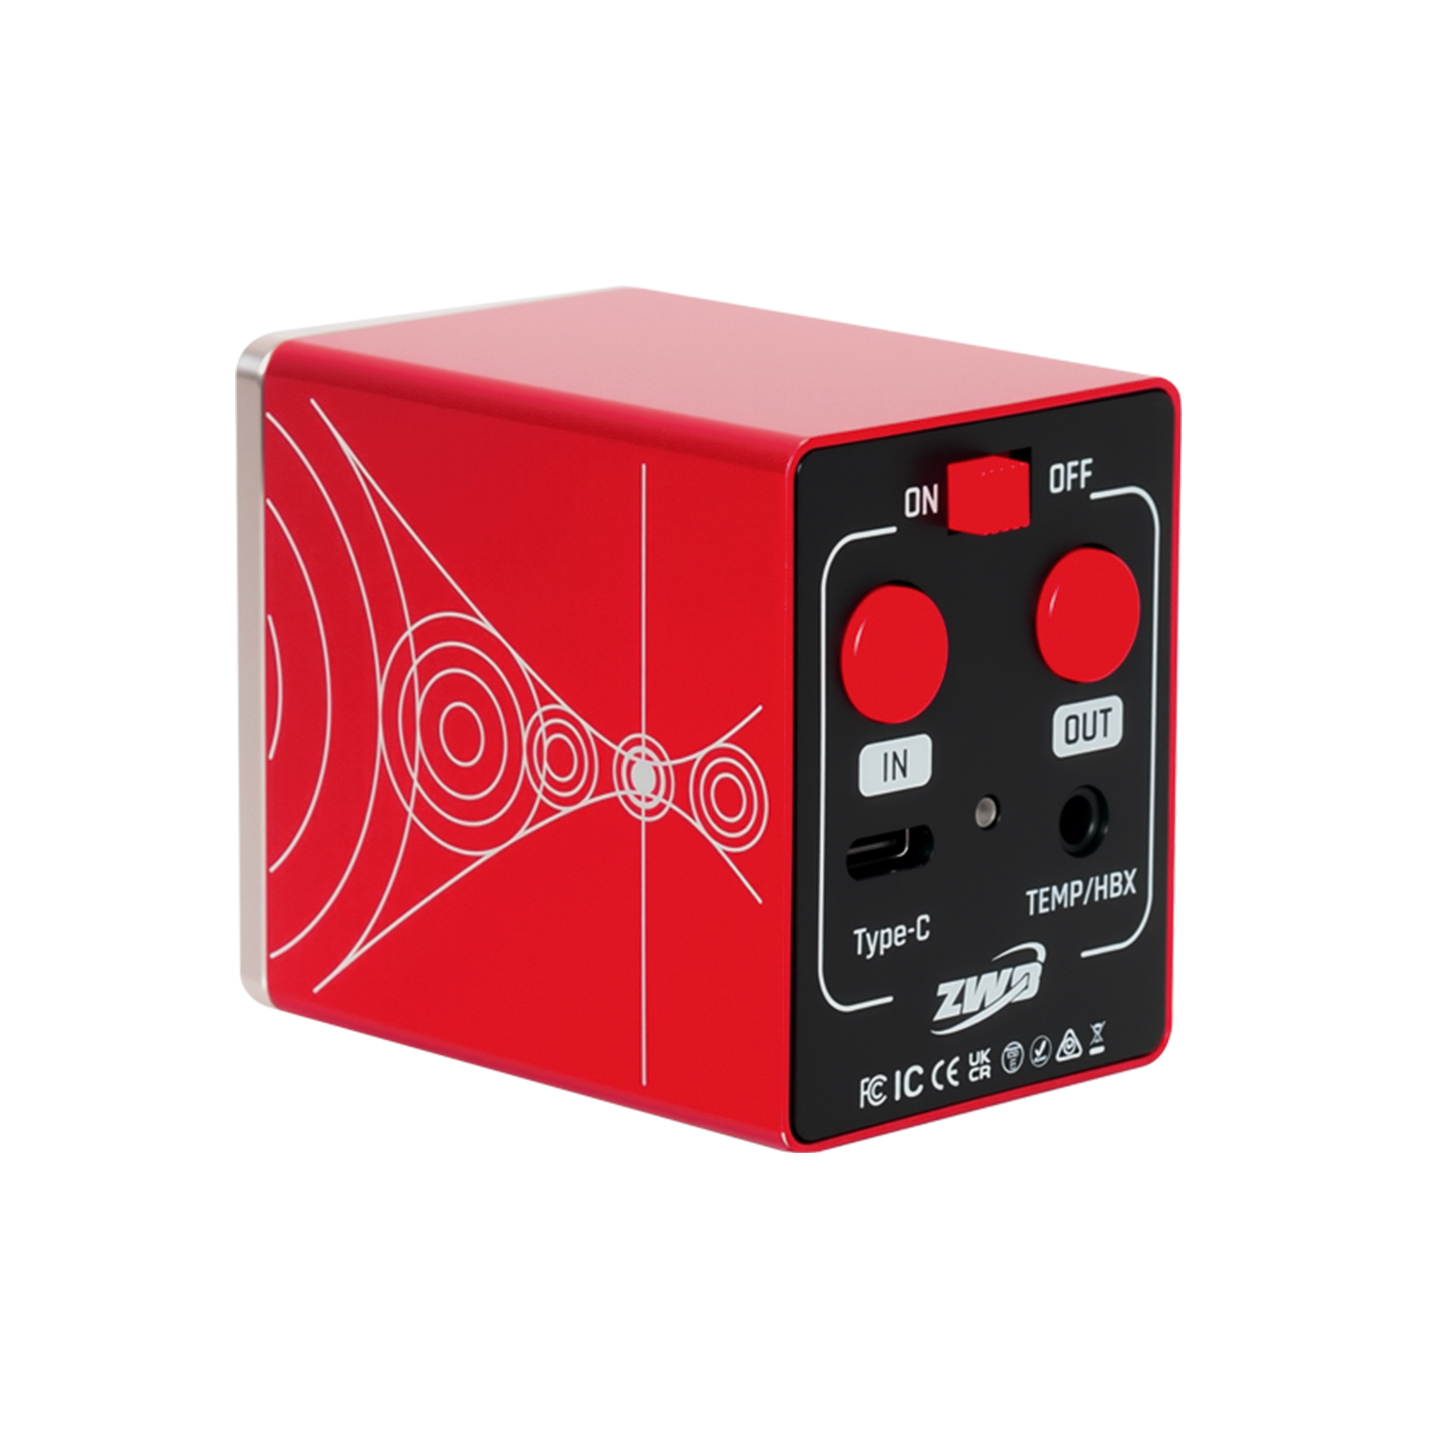
More Universal Type-C Interface
The EAF is an upgrade from the previous version, with its interface upgraded from Type-B to the more universal Type-C. Users can power the EAF directly via a Type-C connection to a camera, computer, or ASlAlR, it also supports wired communication via a Type-C interface. Simplifying cable management and reducing power load.

Wireless Bluetooth Control
The EAF Pro features a built-in low-power Bluetooth 5.0 chip, enabling wireless connectivity with ASIAIR and smart cameras. It is fully compatible with ASIAIR APP, ASIStudio, and ASCOM platform software - offering flexible and cable-free focus control.

Built-in Lithium Battery
Powered by an integrated lithium battery, the EAF Pro frees you from external power constraints and enables truly wireless operation. It offers greater flexibility and ease of use to meet diverse needs.

One-Week Endurance
*Tested under standard conditions in the ZWO lab at room temperature. The device performed 2 focusing operations per hour, with each test session lasting 8 hours per night. Under these conditions, it was able to run stably for 7 consecutive nights.

EAF Pro
Integrated Focusing Button
The EAF Pro features integrated focusing buttons on its body, allowing users to make quick and precise adjustments even after installation. This design greatly enhances usability and flexibility, enabling seamless focusing across a variety of observing and imaging scenarios.

Extensive Software Support
EAF supports both ASCOM and INDI protocols, making it compatible with a wide range of astrophotography software, including:
ZWO-developed platforms: ASIStudio and ASIAIR APP
Third-party software: SharpCap, FireCapture, Maxim DL, The SkyX, SGP, Nebulosity, and more
Also compatible with third-party focusing software such as FocusMax

The EAF hand controller is made of high-quality, eco-friendly ABS material to ensure a comfortable grip. The hand controller provides an easy method of focusing the telescope, featuring IN and OUT buttons, allowing for smooth manual focusing without relying on a computer or smartphone. This design also minimizes subtle vibrations during operation, helping to maintain precise focus. A “must-have” option for EAF users!

Installation Steps

1. Remove the coarse adjustment knob of the telescope focuser using a suitable sized wrench.
2. Install the coupling on the telescope focuser shaft and tighten the locking screw with the 2mm hex wrench.

3. Attach the focuser body to the coupling, align the EAF motor shaft flat surface with the locking screw, and tighten the locking screw using the provided 2mm hex wrench.
4. Secure the EAF body to the bracket and the bracket to the matching mounting holes in the focuser assembly using the supplied M4 screws. Ensure that the bracket is flush with the EAF mounting surface without any gaps, and that it is parallel to the focuser body surface.

5. Check and ensure that all the connections of the EAF are secure. This completes the hardware installation of the EAF.

6. For curved focusers like the one in the image above, you only need to use the original locking screws and 3 washers to secure the EAF. There is a groove at the bottom of the EAF bracket, and a single screw provides sufficient stability.